
Create your first project with Anypoint Code Builder
You can create your first project by using AnyPoint Visual Studio in your pc or by using AnyPoint Code Builder as apart of Anypoint Platform. Easy manage all of your MuleSoft projects, assets, and flows into one location.
If you are planning to use developing locally you will need to install Code Builder plug-in in the Visual Studio:


As explained on the MuleSoft official Anypoint code builder web site, this tool represents next generation IDE for developers to design, develop, and deploy APIs, integrations, and automations from a single environment.
Some of key areas where Anypoint Code Builder may help is designing APIs across any specification, testing and validating API functionalities and finally building integrations to connect any app, system or data.

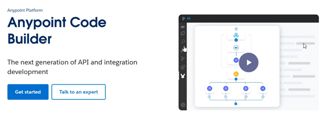
1. Choose Visual Studio or AnyPoint platform:
Anypoint code builder’s close integration with the Anypoint Platform is one of its many advantages. You can design, test, publish, and launch MuleSoft apps at one place thanks to direct access to Design Center, Exchange, and Runtime Manager. The development process is streamlined by this integrated approach, which facilitates the creation and implementation of APIs.
As one of the first steps, you will need to install plug-in Code Builder in Visual Studio:

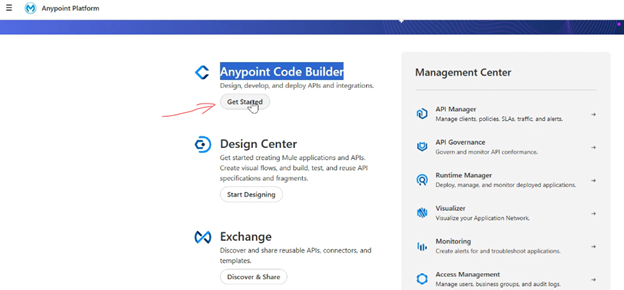
If you are using Anypoint Code Builder in Anypoint platform, get started here:

Please note that working in Anypoint Platform it will be much slower.
2. Create a new project:
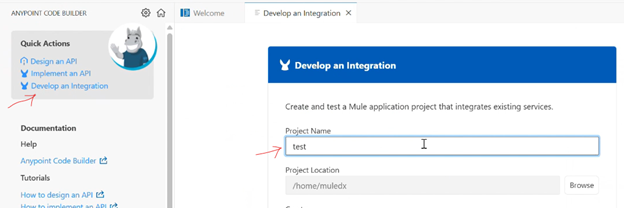
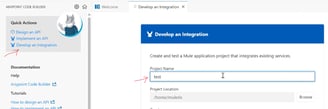
Select “Develop an Integration” and enter the new project name:
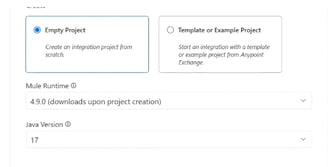
You may choose between two options, as an Empty project or you may use template or example projects pre-build. In our showcase we will be using an Empty project:
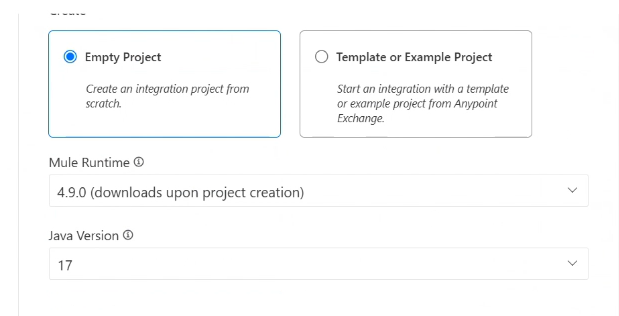
Once you click on the Create project button, prompt will appear, telling you that the extension “Anypoint Code Builder – Platform Extension” wants to sign in using Anypoint Platform and you have to click on “Allow” button. There will be also prompt message ‘Do you want code-server to open external website?” – you will need to select “Open”. During loading process system will download Mule runtime 4.9.0.
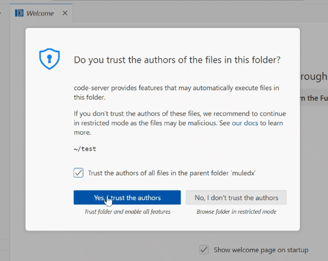
You will also need to trust the “authors” of the files as it shows on the prompt:

3. Option to automate with Agentforce:
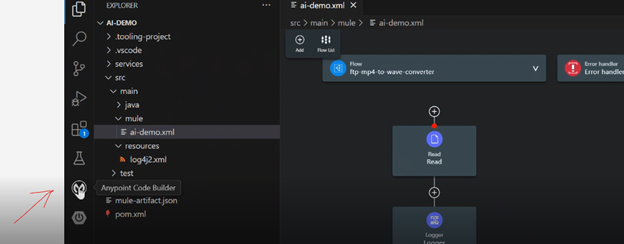
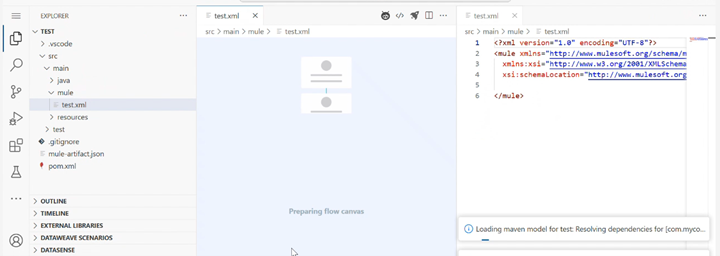
Once you are in, empty Mule project will be created:
You may automate building by leveraging using the Agentforce in a Flow with Agentforce or selecting Start from the Scratch:
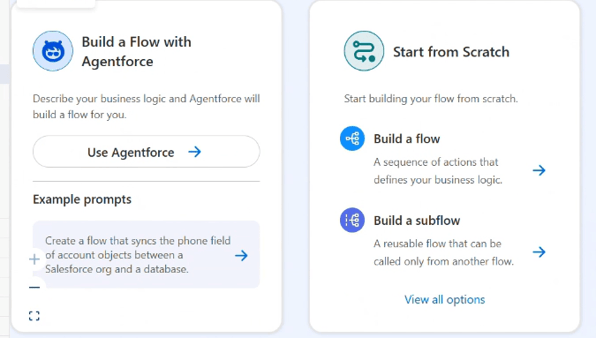
If you use Agentforce to build, chat-bot will appear to guide you further with generative AI, with many offered use cases such as a flow that syncs the phone field of an account objects between a Salesforce org and a database, or use case where you will be able to generate a flow that sends an email when a new case is created in Salesforce.
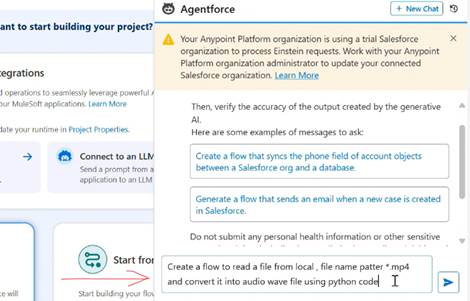
4. Sample prompt:
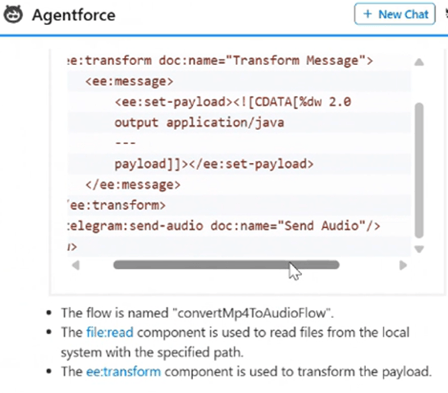
In this demonstration we will be using sample Use Case where we want to convert the MP4 file to Audio Wave file, in order to further process Wave file using AI for speech-to-text. Our prompt will look like this:
5. Producing the code:
Code produced in chat-bot:

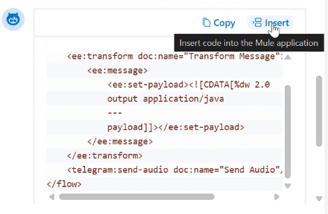
After the reviewing the code and if the code is satisfying, you may insert the code into the workplace, by clicking on “Insert” button:

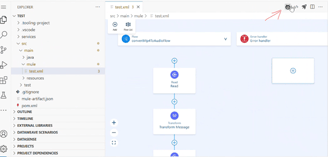
6. Inserting the code:
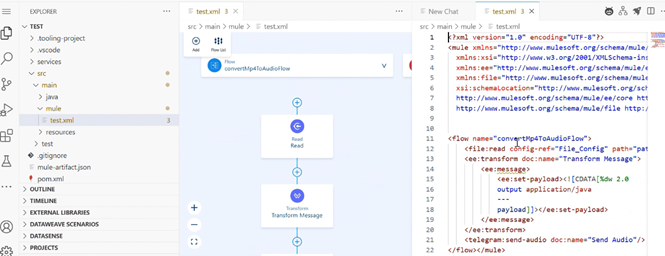
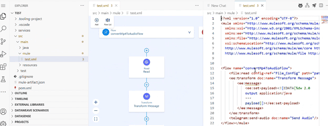
In this sample, Flow has been already created and code is now inserted into the project. To view the code again click on the chat box at the top corner:

And code will be shown at the right side of the panel:
7. Adding other components:
You may add the Logger, or other components.


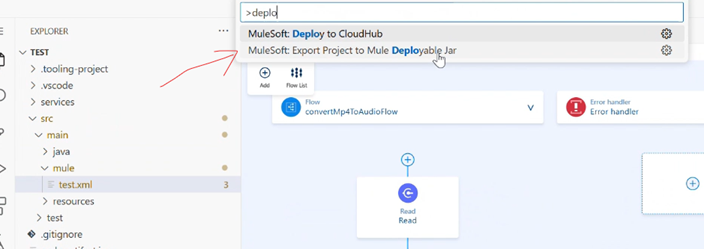
8. Deploying the code:
You may deploy it to CloudHub or export as a JAR file:

Finally, a cutting-edge Anypoint Code Builder is an excellent tool for rapidly and effectively creating APIs and integrations because of its rich capabilities, ease of use, and interaction with Anypoint Platform. Anypoint Code Builder offers all the tools you need to speed up your development process and create top-notch Mule apps, regardless of your level of experience with the platform.